The right hammer depends on what you’re hitting, what you’re driving, and how long you’ll be swinging it. Pick wrong, and you’ll miss more, work slower, and strain your wrist or elbow. This guide covers the main hammer types (claw, framing, masonry, mallets, and specialty options), how to choose weight, handle material, grip, and balance, plus head and face features that change how a hammer behaves.
Why Choosing the Right Hammer Matters
A hammer looks simple, but the wrong one can make every job annoying. You’ll miss more, bend more nails, and end up smacking wood or brick you didn’t mean to.
Weight is a big deal. Too heavy and your accuracy drops fast, especially overhead. Too light and you end up swinging harder and longer, which is a quick path to sore wrists and elbows.
The head and handle matter just as much. A smooth face is kinder to trim; a milled face grips nail heads better in rough work. Good balance and a comfortable grip help the hammer land where you aim, with less strain.
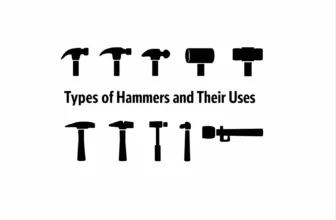
Different Types of Hammers
Picking the right type of hammer is half the battle. Each style is shaped, weighted, and faced for a certain kind of hit, and using the wrong one usually means damaged work, bent nails, or a sore arm.
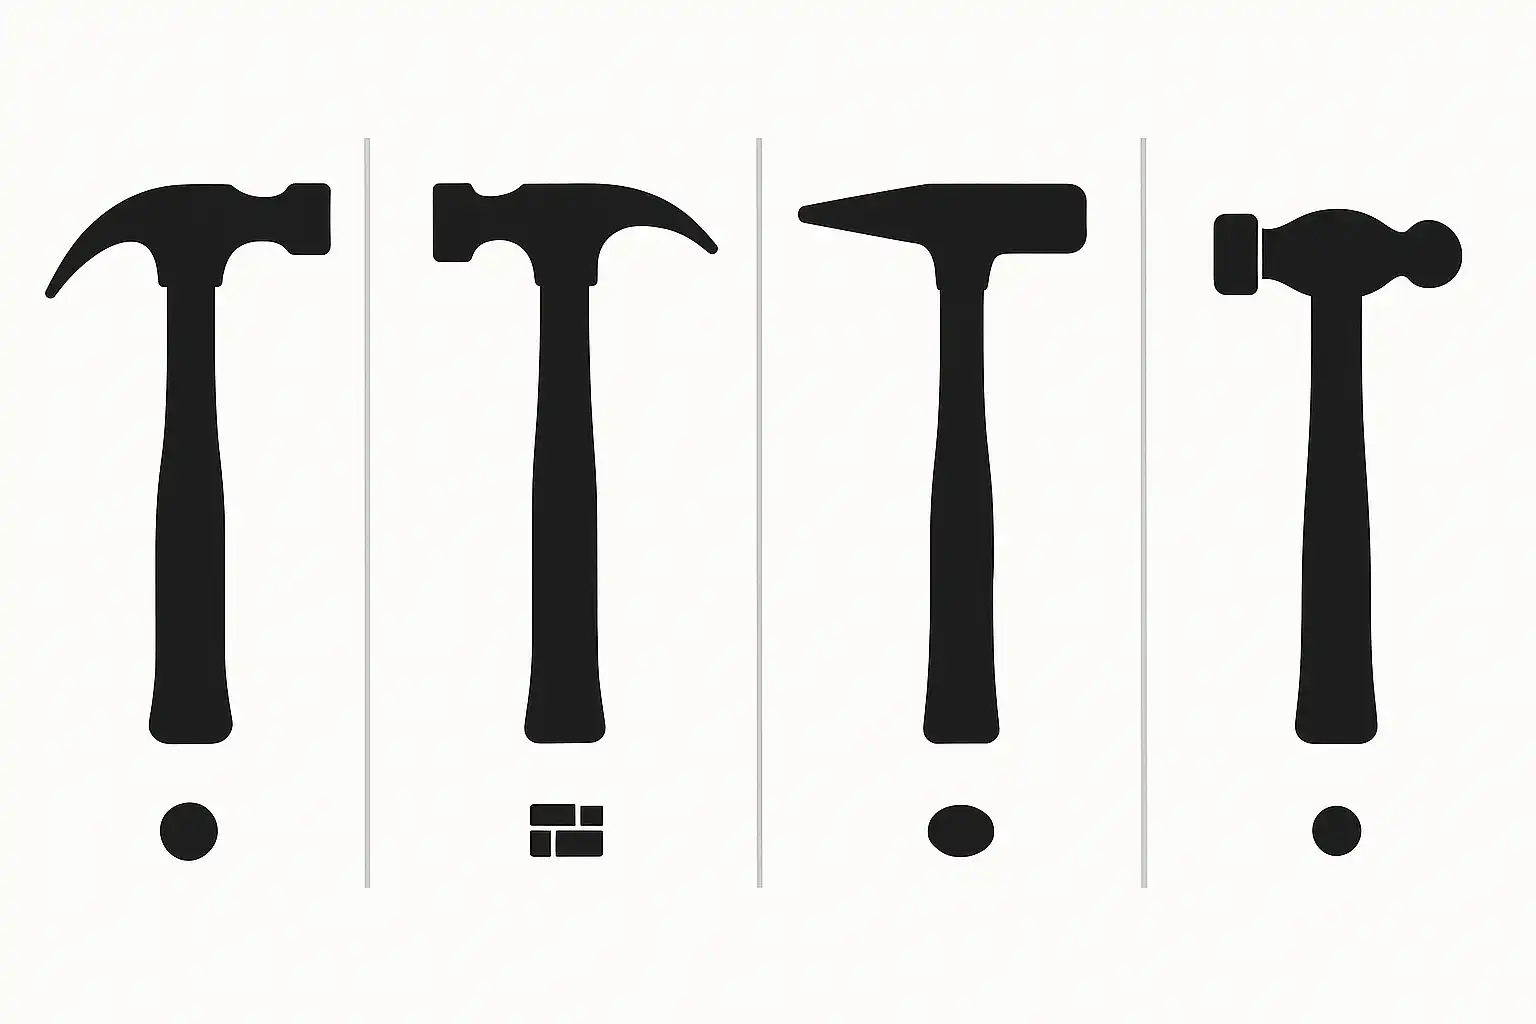
Claw Hammers (Carpenter’s Hammers)
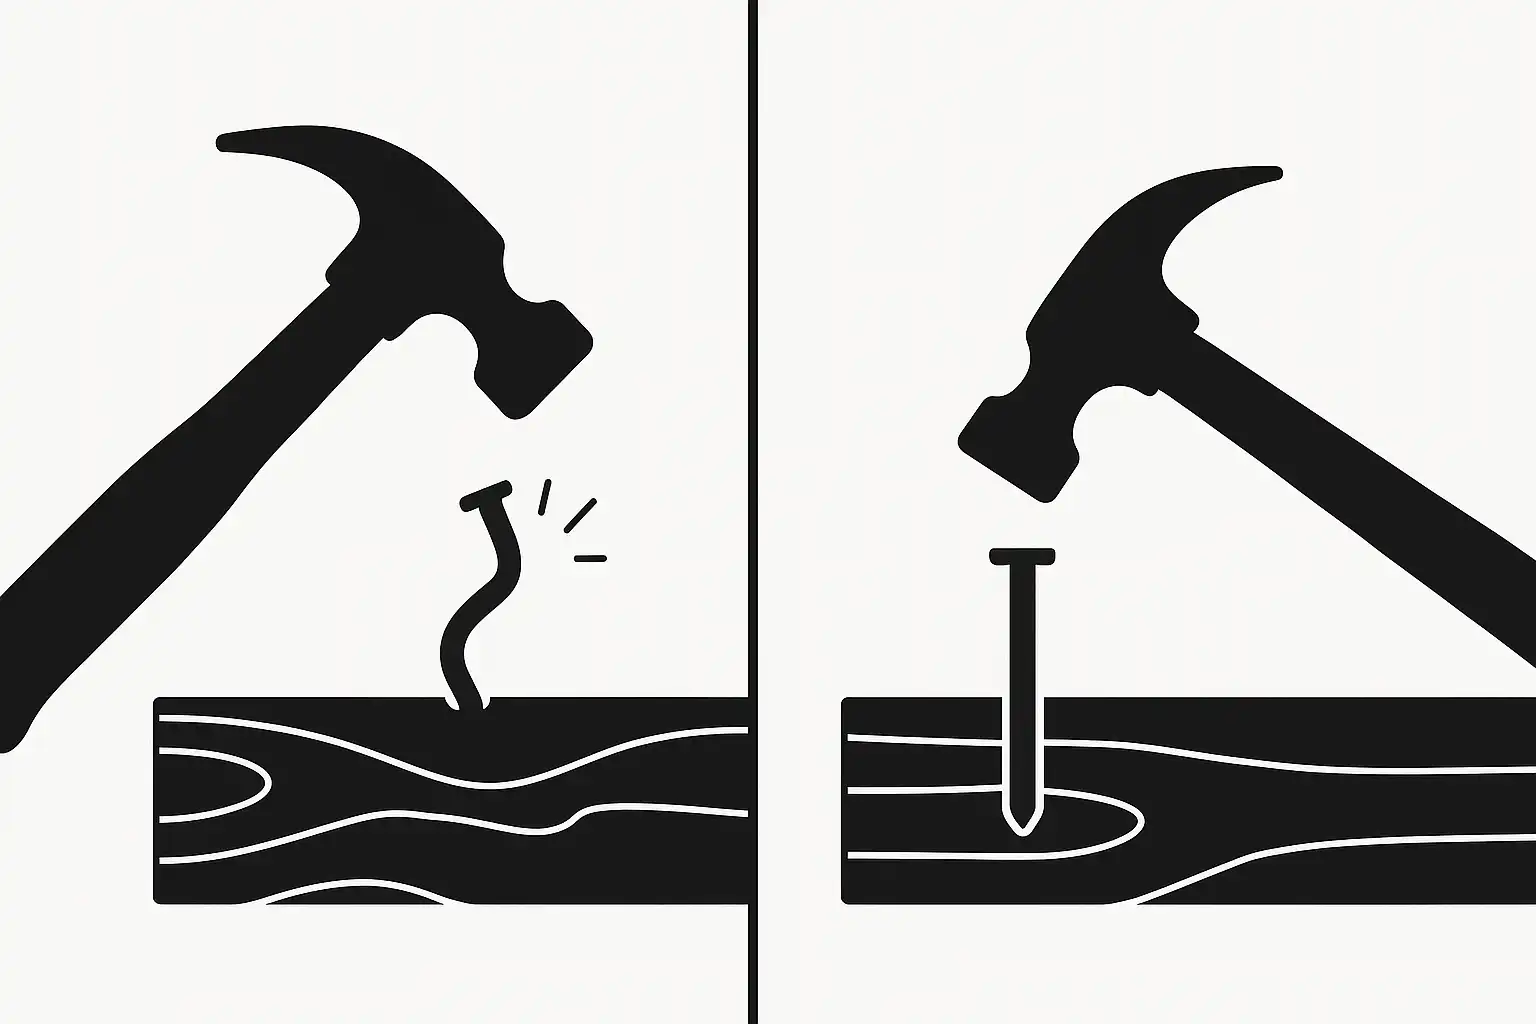
This is the everyday “drive and pull” hammer for wood. The claw shape matters more than most people think because it decides how easily nails come back out.
- Curved claw: better leverage for pulling nails and prying boards during repairs.
- Straight claw (rip claw): better for light prying and demo, less comfy for nail pulling.
- Smooth face: less likely to leave a ring mark on trim or cabinets.
- Milled face: grips nail heads better, but it can bruise wood.
Quick buying checks: choke up near the head and do a few “air swings.” If the head wants to twist, you’ll fight it all day. Also, check the claw gap; it should grab common nail sizes without slipping.
Framing Hammers for Heavy-Duty Work
Framing hammers are built to sink nails into studs, joists, and beams fast. They usually have a longer handle and a heavier head, so each swing does more work.
- Head weight: 20–22 oz is a common sweet spot; 24–28 oz hits hard but wears you out faster.
- Handle length: longer handles add power but cost you control in tight spots.
- Milled face: helps prevent glancing off nail heads when you’re moving quickly.
- Side nail puller / “cat’s paw” slot: handy for pulling sunk nails or grabbing heads close to the surface.
If you do a lot of framing, pay attention to shock. Steel handles can sting unless the grip and neck design tame vibration. A good grip also matters when your hands are dusty or sweaty.
Masonry and Bricklayer’s Hammers
Masonry hammers aren’t “nail hammers.” They’re built for brick, block, and chisel work, where you need controlled blows and tougher edges.
- Brick hammer: flat striking face on one side, chisel-like blade on the other for scoring and splitting brick.
- Club hammer (mini sledge): short handle with a heavy head for driving masonry chisels and setting pavers.
- What to pair it with: cold chisels, bolster chisels, and brick sets, depending on what you’re cutting.
Real-world tip: When cutting brick, score all sides first, then snap on the line. It’s cleaner, and you waste fewer bricks. Also, don’t use a claw hammer on chisels; it can chip the face and send shards flying.
Soft-Face, Rubber, and Mallet Hammers
These are for “hit it without trashing it.” They’re the difference between tapping something into place and leaving dents, black marks, or cracks.
- Rubber mallet: good for gentle taps on trim blocks, flooring, and light assembly.
- Dead-blow: shot-filled head that hits with less bounce, so parts move instead of springing back.
- Soft-face with replaceable tips: great for repeated assembly work; swap worn faces instead of buying a whole new hammer.
A small detail that matters: lighter-colored faces can leave fewer black rub marks on some materials. If you’re working on finished wood or light tile, test a tap on scrap first.
Specialty and Workshop Hammers
These are job-specific tools. They can save time, but only if you actually do that kind of work.
- Ball-peen: for metalwork (peening rivets, shaping metal, striking punches meant for metal).
- Cross-peen / straight-peen: for starting small nails in tight areas, and for certain metal shaping jobs.
- Sledge/drilling hammer: for demo, driving stakes, breaking concrete, striking large chisels.
- Tack/upholstery hammer: for small tacks where control matters more than force.
- Chipping hammer (welding): for knocking slag off welds, not for general striking.
If you’re unsure, don’t “buy the weird one.” Start with a claw hammer plus one specialty tool that matches your main projects, then add others only when you hit a real need.
Key Factors to Consider Before Buying a Hammer
Once you’ve picked the hammer type, the “feel” details are what separate a tool you like using from one that lives in a drawer. Let’s have a look at some of these factors:
Hammer Weight: How Heavy Should Your Hammer Be?
Choose the lightest hammer that still drives fasteners without you “over-swinging.” Heavier heads hit harder per swing, but they punish your elbow and reduce accuracy when you’re tired.
- Light duty/lots of overhead work: 10–14 oz (good for small nails, hooks, light trim, and reduced fatigue).
- General home and carpentry: 16 oz (common do-it-most option for a claw hammer).
- Framing and structural fastening: 20–22 oz (strong driving without being a brick on a stick).
- Heavy framing/demo: 24–28 oz (powerful, but easy to overdo for all-day use).
Quick test in-store: do 10–15 slow practice swings. If your wrist wants to dip at the bottom or your forearm tightens, go lighter or find a better-balanced hammer. Also, remember nail size matters—big nails in dense lumber can justify more weight, but for smaller fasteners, a heavy head increases the chance of dents and misses.
Handle Material: Wood vs Fiberglass vs Steel
The handle changes how shock and vibration travel into your hand. It also affects durability, cost, and how the hammer behaves if it gets wet or beaten up.
- Wood (hickory): best “feel” for many people and usually kinder on joints. It can loosen if abused, and it doesn’t love constant moisture, but it’s easy to re-wedge or replace. Great for general carpentry and anyone who swings a lot.
- Fiberglass: good durability and often good vibration control, with less worry about swelling or rot. It’s a solid choice for general use and jobsite conditions, though it can feel a bit “dead” compared to wood.
- Steel: toughest handle, but it can send more sting into your hand unless the grip and internal design reduce vibration. Steel is common in framing and some specialty hammers; don’t assume “all steel” means “best for your elbow.”
Look where the head meets the handle. A clean, solid joint matters more than the handle material itself. If it’s a one-piece steel hammer, check that the grip runs far enough up the handle to protect your hand if it slides during a sweaty swing.
Grip, Balance, and Ergonomics
If the hammer doesn’t sit right in your hand, every other spec stops mattering. Good ergonomics means the tool tracks straight and doesn’t force you into a death grip.
- Grip size: you should wrap your fingers without crowding. Too thick causes hand fatigue; too thin makes you squeeze harder.
- Grip texture: enough traction for sweaty or dusty hands, without sharp edges that chew up your palm.
- Balance point: a balanced hammer feels “neutral” during an air swing. A head-heavy hammer hits hard but can pull off line.
- Neck shape: some designs keep your hand a touch farther from the strike line, which can reduce knuckle strikes and improve comfort.
Simple check: hold it at your normal swing spot and tilt the hammer slightly side to side. If it constantly wants to roll in your hand, it’ll be harder to land square hits. Also check the “choke up” position near the head—if you do finish work, you’ll use that grip a lot for control.
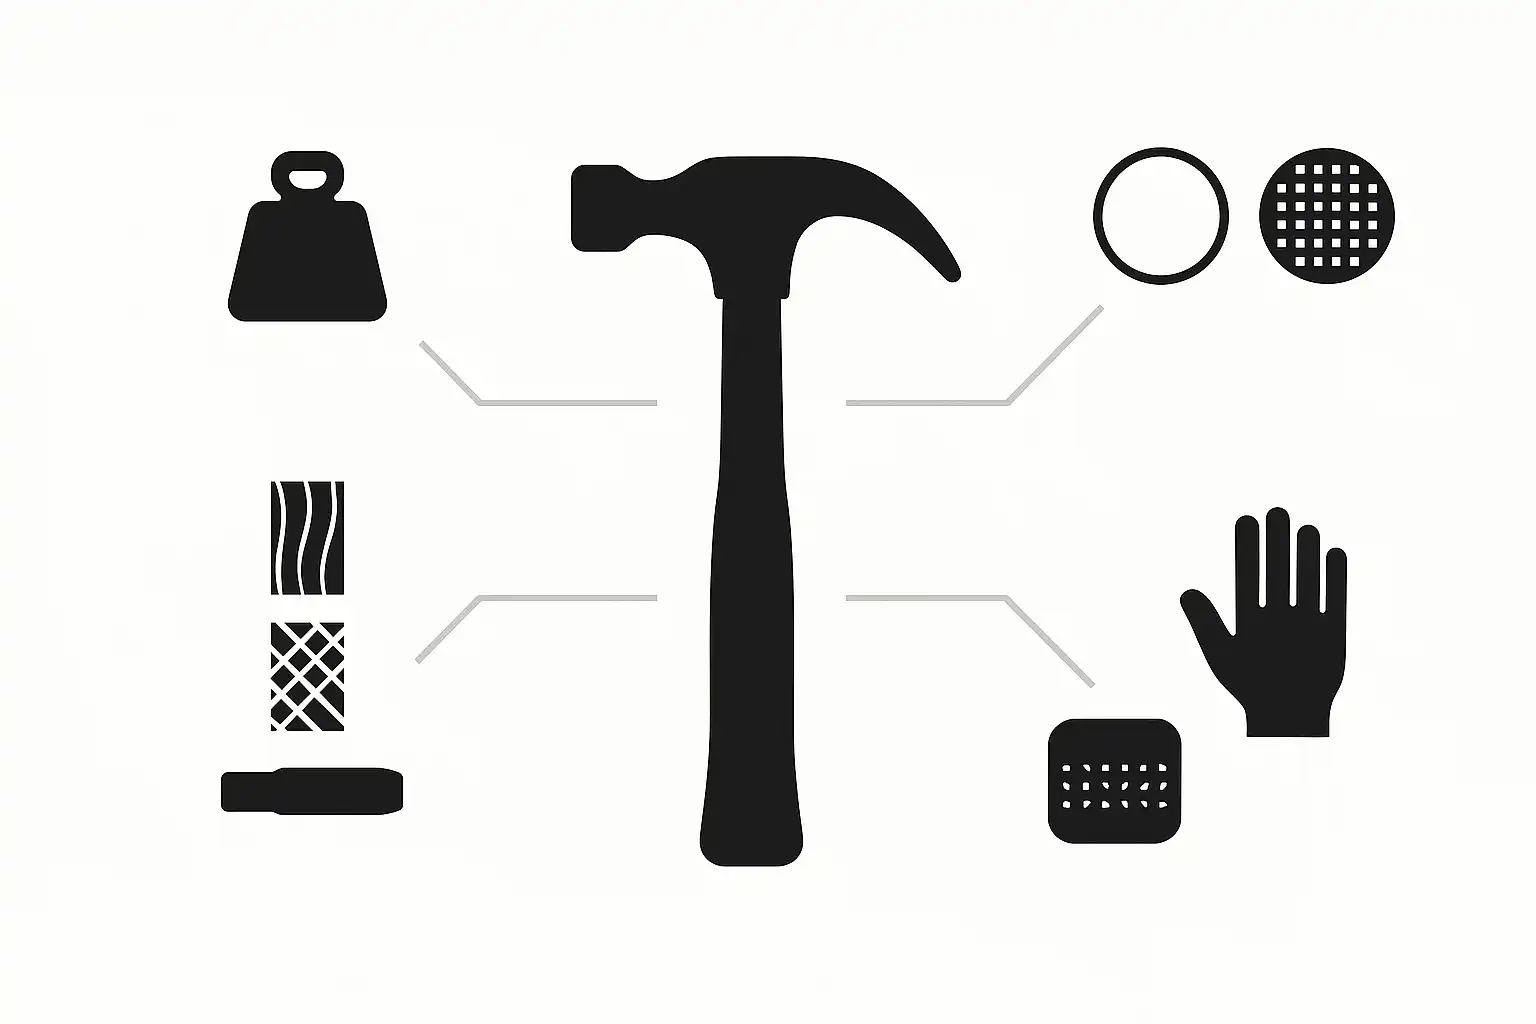
Hammer Head Design and Face Types
The head design controls what the hammer can do besides “hit things,” and the face controls how the blow behaves on contact.
- Face types:
- Smooth face: best for finishing work because it’s less likely to leave marks.
- Milled/waffle face: bites into nail heads for framing speed, but it can stamp wood.
- Convex (slightly domed) face: can reduce edge marks if you don’t hit perfectly flat, common on some finish-friendly designs.
- Claw/peen shapes (depending on hammer type):
- Curved claw: easier nail pulling, better leverage.
- Straight/rip claw: better for prying and rough work.
- Ball-peen / cross-peen: meant for metal shaping and setting, not nail pulling.
Also, pay attention to head hardness and edge finishing. A cleanly finished face and chamfered edges tend to chip less and leave fewer accidental gouges. If you’ll strike chisels or hardened tools, use a hammer made for that job; mixing hardened faces and hardened steel can create dangerous chips.
Common Mistakes to Avoid When Choosing a Hammer
Most bad hammer buys come from picking the wrong type or the wrong “feel” for your hand. Use this list to spot the usual traps before you spend money.
- Buying one hammer for every job: claw for wood/nails, framing for structural lumber, masonry for brick/stone, soft-face for finished surfaces, ball-peen for metal.
- Going too heavy because it feels strong in the store: heavy heads tire you out, and accuracy drops fast; missed hits damage work and thumbs.
- Choosing a milled face for finish work: it can stamp a waffle pattern into trim, cabinets, and furniture parts.
- Choosing a smooth face for fast framing: it can glance off nail heads more often when you’re working quickly.
- Ignoring balance: if the head twists during an air swing, you’ll fight it on every strike.
- Picking a grip that doesn’t fit your hand: too thick = more squeezing and fatigue; too slick = hand creep and knuckle hits.
- Overvaluing handle material and undervaluing the joint: a great handle won’t save a poorly seated head or weak connection.
- Using the wrong hammer on chisels/punches: steel-on-steel can chip; use a hammer meant for striking those tools (club hammer, ball-peen, drilling hammer, as appropriate).
- Buying “demo features” you won’t use: rip claws, extra-long handles, and aggressive faces are great when you need them, annoying when you don’t.
- Not thinking about where you’ll swing it: long handles and heavy heads stink in tight spaces and overhead work.
Hammer Maintenance and Care Tips
A hammer stays safer, hits cleaner, and lasts longer with quick checks and basic cleanup. Most problems show up early if you look for them.
- Keep the face clean and dry: wipe off oil and grime so the face doesn’t slip; scrub resin with a degreaser and stiff brush.
- Check for a loose head often: any movement is a stop-work issue.
- Wood handle: re-seat and re-wedge if it loosens.
- Fiberglass/steel: replace the hammer if the head/joint is failing.
- Dress burrs and mushrooming: file/grind sharp edges so chips don’t break off during strikes (wear eye protection).
- Inspect the handle: look for cracks, splits, delamination (fiberglass), or bending (steel).
- Watch the grip: replace torn or sliding grips; your hand shouldn’t creep during a swing.
- Store it dry: moisture loosens wood over time and promotes rust on steel, especially under grips.
- Don’t use it as a pry bar unless it’s built for it: excessive prying loosens heads and bends claws.
- Use the right striking surfaces: don’t beat on hardened steel tools with a hammer not meant for that job.
FAQ
A 16-oz curved-claw hammer covers most home jobs: driving and pulling nails, light demo, and hardware installs.
Framing hammers run heavier with longer handles and straighter claws for prying; claw hammers are lighter and more precise.
Pick 16-oz for general repairs and finish work; go 20-oz for framing nails or dense lumber.
Smooth faces leave fewer marks on visible wood; milled faces grip nail heads better and reduce glancing blows.
Wood usually transmits less vibration; fiberglass is tough and weather-friendly; steel lasts but can sting without a good grip.
Use a brick hammer for scoring and splitting bricks, or a club hammer to strike masonry chisels and set pavers.
You can, but the heavier head and milled face often dent trim; a smooth-face claw hammer is kinder.
This content is generated by AI, reviewed by our editorial team, and features products that have been thoroughly evaluated and chosen.