Suburban homesteading makes use of backyards, side yards, or even patios to produce food, keep small animals, and build a more self-sufficient household. It doesn’t demand large tracts of land, but it does require thoughtful planning and steady effort.
This guide explains how to set up a mini farm at home, covering practical steps such as garden beds, small livestock, food preservation, and smart water use.
How to Begin Your Suburban Homesteading Journey
Getting started is less about doing everything at once and more about finding the first project that feels achievable. Beginning small allows you to build skills, learn from your gardening mistakes, and add new elements when you’re ready.
Start Small and Build Experience Gradually
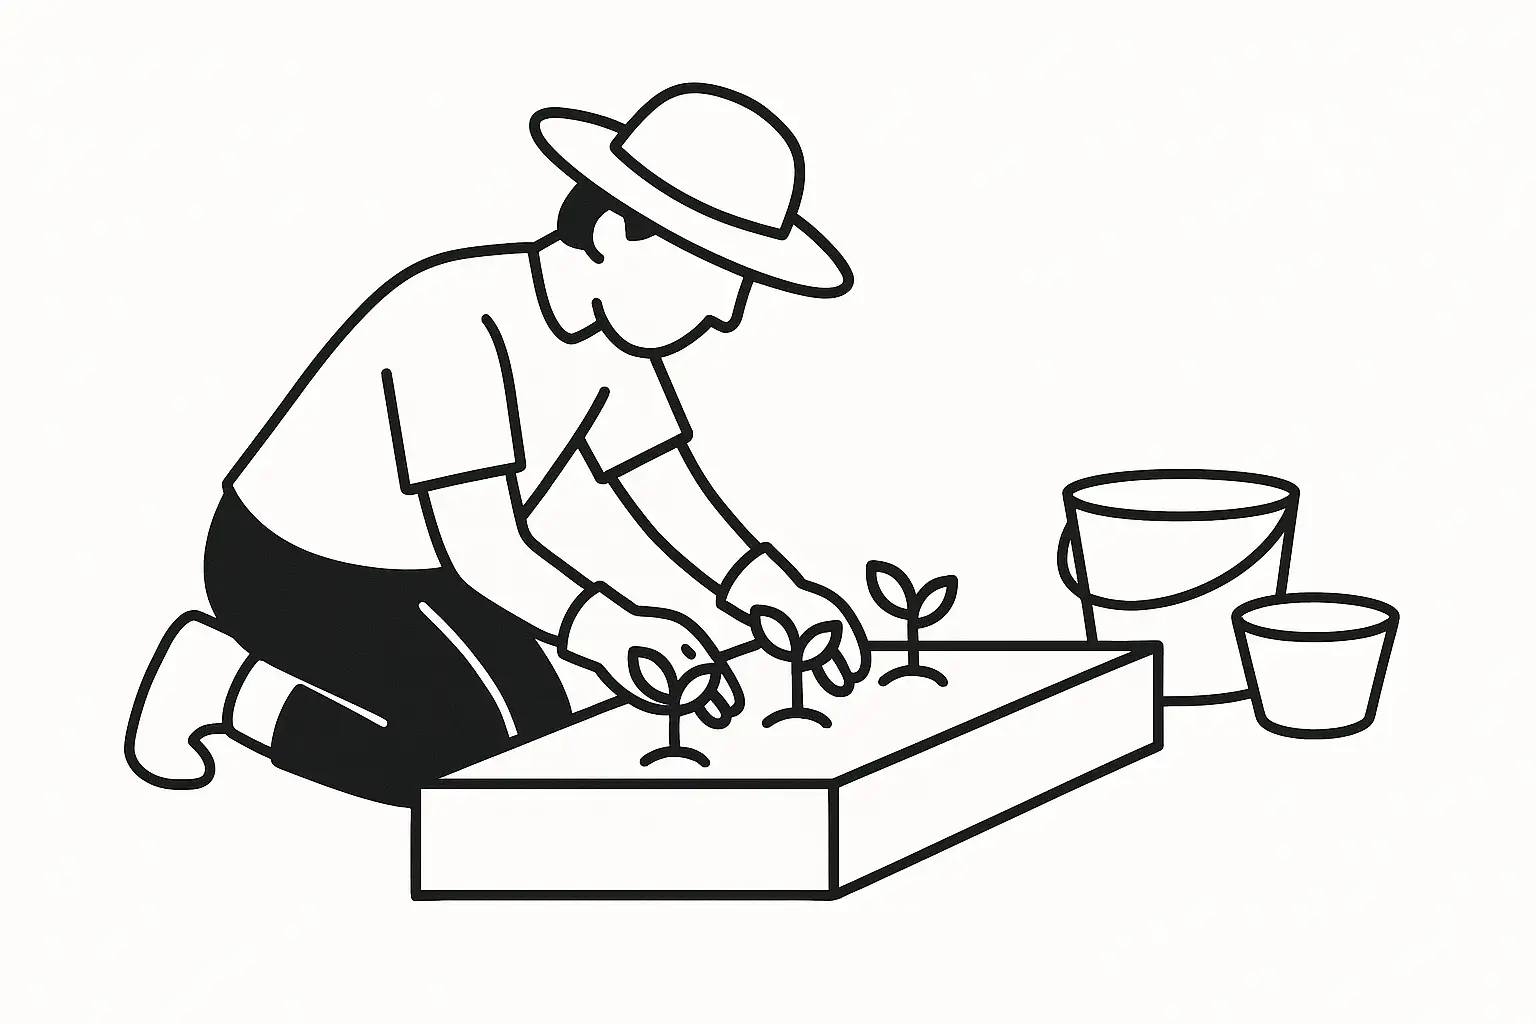
A single raised bed, a compost bin, or even a set of herb containers can teach you the fundamentals. These smaller projects require little money up front and give you time to understand watering cycles, soil needs, and seasonal growth patterns. Once you’re comfortable, you can branch out to larger steps like planting fruit trees, adding chickens, or even trying a beehive.
- Why start small:
- Mistakes are easier to correct
- Daily tasks stay manageable
- You build confidence step by step
The goal is steady progress. Each new layer adds responsibility, so pacing yourself prevents burnout.
Choosing Projects Based on Time Resources
Time is the biggest factor when deciding what to take on. Chickens, for example, need daily feeding and cleaning, while a kitchen garden may only need a few hours each week. If your schedule is tight, herbs, salad greens, or berry bushes are better choices than livestock.
- Lower time needs: Herbs, salad greens, berries
- Moderate time needs: Vegetable garden, compost system
- Higher time needs: Chickens, bees, mini-orchards
Ask yourself: how many hours can you commit on a daily and weekly basis? Are there seasons when your schedule gets hectic? Matching projects to your actual availability helps keep homesteading rewarding instead of overwhelming.
Space Planning: How to Use Limited Backyard Space Effectively
A small yard doesn’t have to limit your homesteading goals. Careful planning makes it possible to grow a surprising amount of food in a compact area. The key is choosing the right growing method and arranging plants so every square foot is put to work.
Raised Beds vs Container Gardening
Raised beds are permanent structures that improve soil depth, drainage, and organization. They’re excellent for vegetables that need space for roots, such as carrots, tomatoes, and peppers. A well-built raised bed also cuts down on weeds and makes maintenance easier.
Containers, on the other hand, offer flexibility. They can be placed on patios, decks, or narrow side yards where digging isn’t possible. Containers are ideal for herbs, salad greens, or even dwarf fruit trees. The trade-off is that they dry out faster than raised beds, which means more frequent watering.
Quick comparison:
- Raised beds: Long-term solution, great for a wide range of crops, higher upfront effort
- Containers: Moveable, adaptable to small or paved spaces, better for herbs and small plants
A mix of both often works best: raised beds for staple crops, containers for movable or experimental plantings.
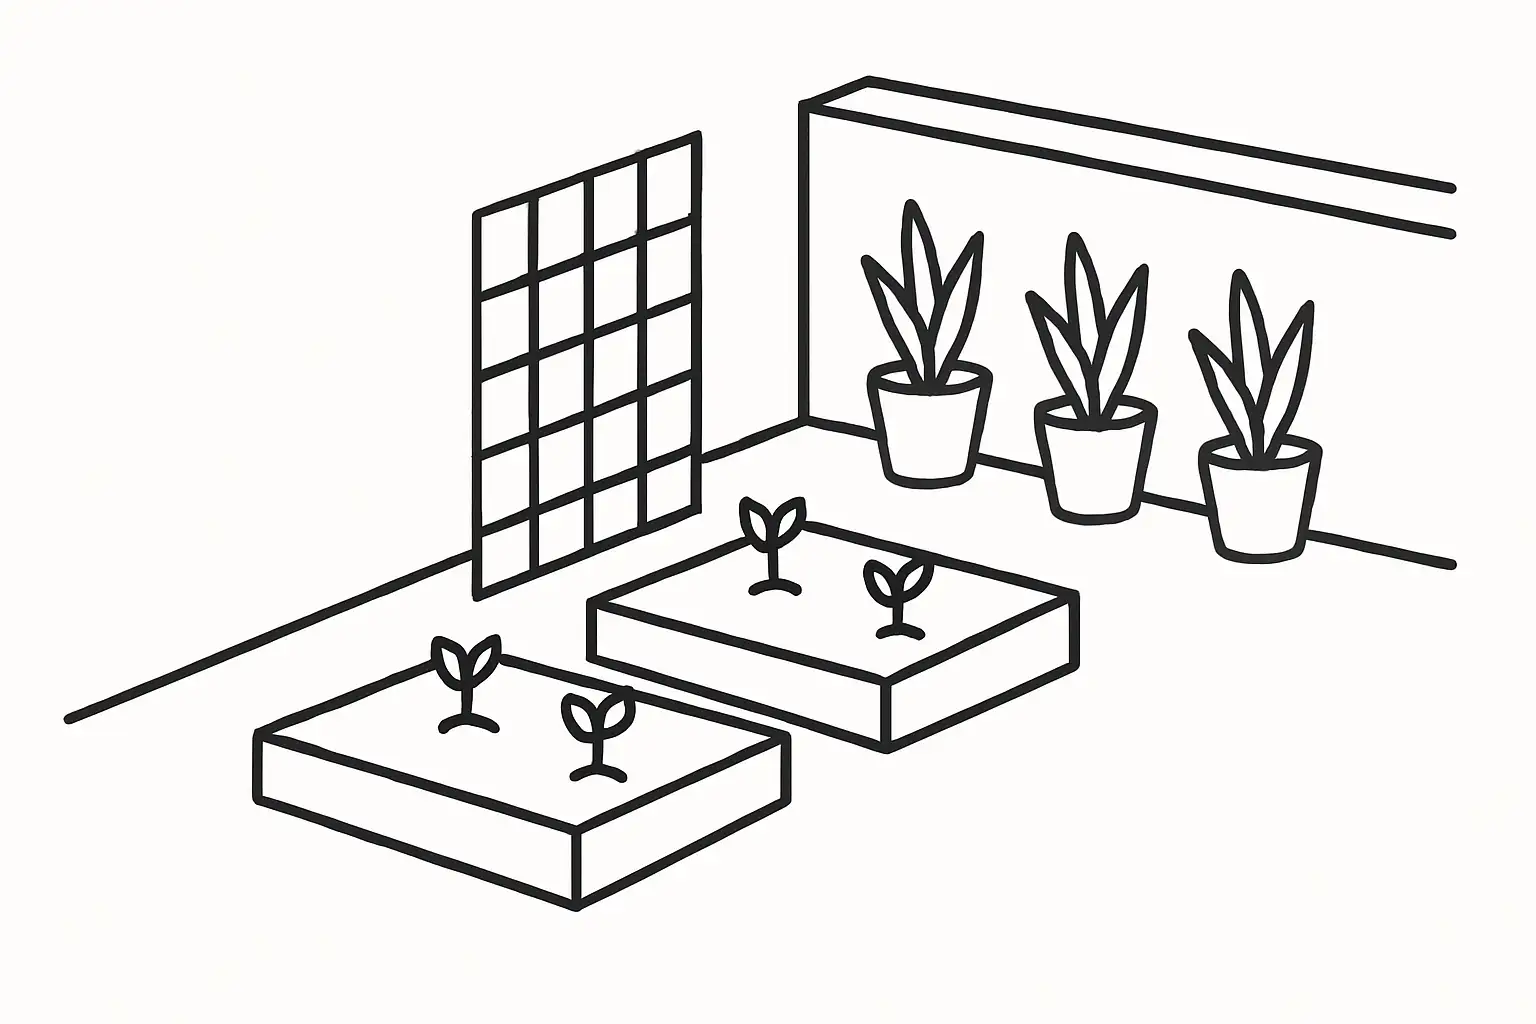
Vertical Gardening and Efficient Layouts
When space is tight, think upward. Vertical structures like trellises, arbors, and hanging planters open up growing areas without crowding the ground. Vining plants such as cucumbers, beans, and peas climb easily, freeing soil space for shorter crops below.
Efficient layouts also matter. Group plants with similar water needs, place taller crops where they won’t shade shorter ones, and leave clear pathways so you can reach everything without compacting the soil.
Space-saving strategies:
- Use wall-mounted planters for herbs and strawberries
- Train cucumbers and squash up trellises
- Plant leafy greens in between rows of taller vegetables
- Add vertical racks for potted plants on patios or balconies
Top 4 Suburban Homesteading Projects to Try
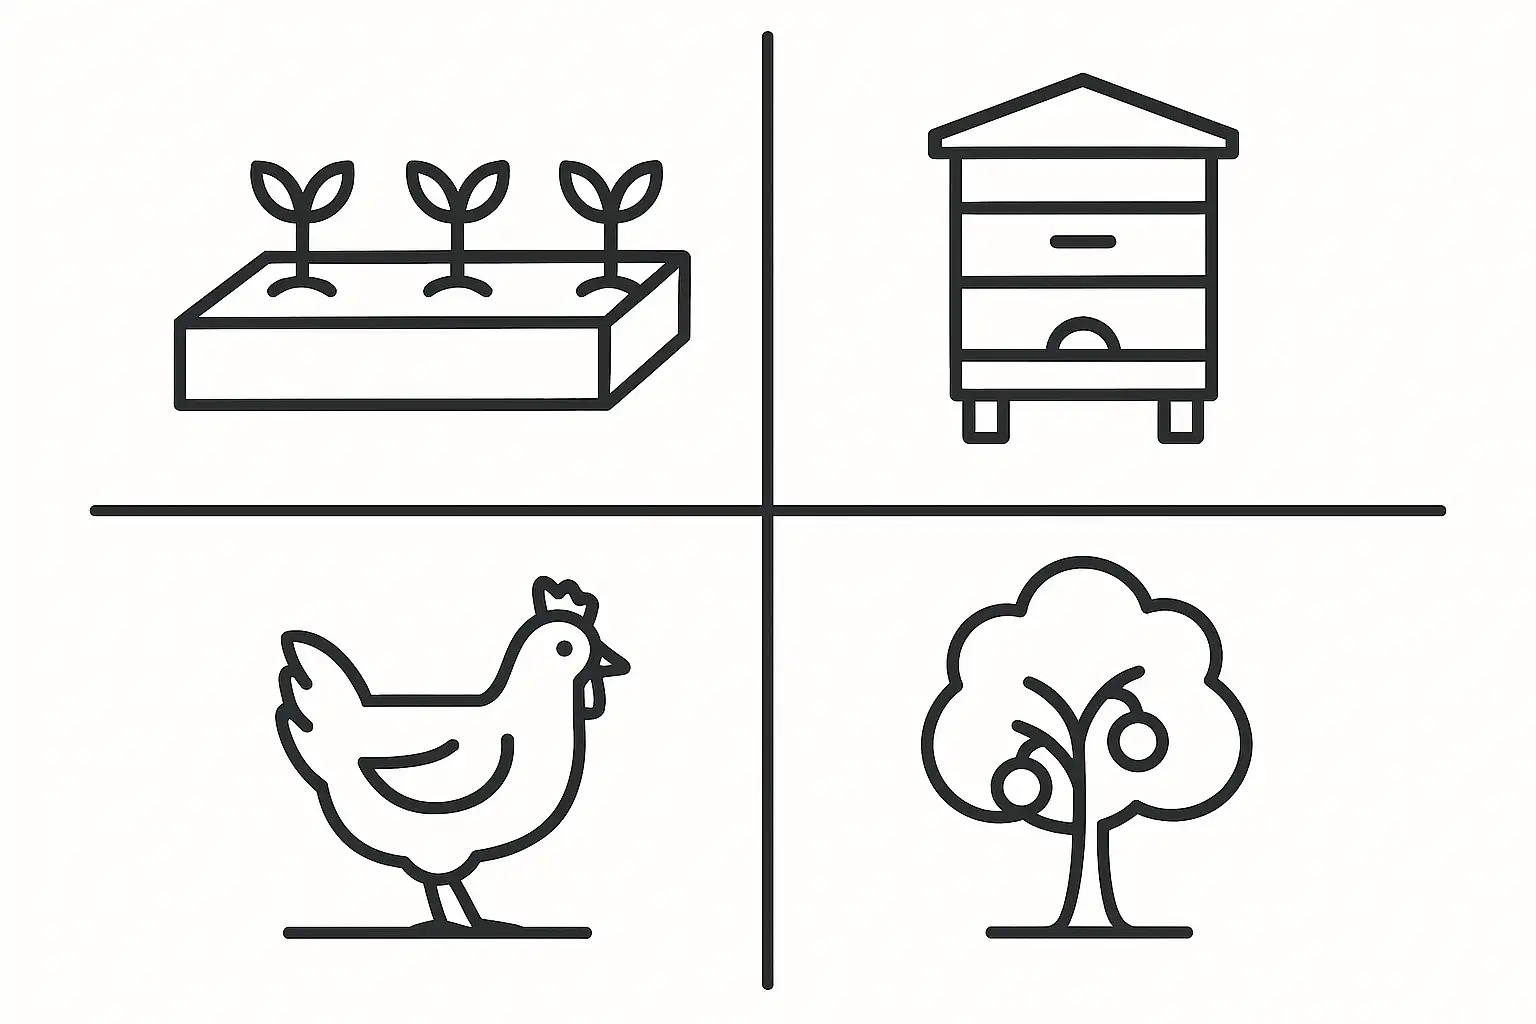
Once you’ve planned your space, the next step is choosing projects that give the best return in food, skills, and experience. These four are well-suited to suburban yards and can be scaled over time.
Growing a Kitchen Garden
A kitchen garden puts fresh herbs, salad greens, and vegetables just steps away from your door. Start with easy crops like lettuce, radishes, and basil, then branch out into tomatoes, peppers, and beans. Raised beds or containers both work, depending on your yard.
Tips for success:
- Choose sunlit spots with at least six hours of light
- Mix quick-growing greens with longer-season crops
- Plant in stages to spread out harvests
This is often the foundation of suburban homesteading since it delivers food quickly and builds gardening confidence.
Keeping Bees: Basics and Benefits
Backyard beekeeping supports pollination and produces honey, wax, and propolis. A single hive can improve yields in your garden and benefit neighboring plants as well.
Getting started:
- Learn local regulations before setting up a hive
- Place hives in a sunny, sheltered spot with nearby water
- Join a local beekeeping group for guidance
The payoff is twofold: better pollination for your crops and a supply of home-produced honey.
Building a Chicken Coop
Chickens supply fresh eggs, manure for compost, and natural pest control in the yard. The coop is the central piece—well-built housing keeps birds safe from predators and protects them from weather extremes.
What to consider:
- Space: allow about 2 square feet per bird inside, plus outdoor run space
- Safety: strong fencing and secure doors are non-negotiable
- Routine: daily feeding, watering, and egg collection
A small flock of three to five hens can supply a household with steady eggs while fitting comfortably in many suburban yards.
Planting Fruit Trees or Mini-Orchards
Fruit trees take time to mature, but reward patience with reliable harvests year after year. Many varieties come in dwarf or semi-dwarf sizes, perfect for suburban settings.
Best practices:
- Pick varieties suited to your growing zone
- Plant in spots with full sun and good drainage
- Space trees far enough apart for airflow and future growth
Even two or three trees—apples, plums, or figs—can provide a surprising amount of fruit for fresh eating, preserving, or sharing with neighbors.
Manage Expectations: Time, Effort, and Responsibility

Homesteading in a suburban setting is rewarding, but it requires steady work. Plants, animals, and projects don’t pause when you’re busy, so it’s important to understand the time and responsibility involved before expanding too far.
Daily Tasks vs Time Investment
Every project adds to your routine. Chickens need food, water, and egg collection every day. A vegetable garden may only need a few hours each week, but during peak summer, it demands near-daily watering and harvesting. Bees require less frequent attention but still need checks and seasonal care.
Examples of time needs:
- Chickens: 20–30 minutes daily for feeding, watering, and egg collection
- Kitchen garden: 3–6 hours per week, depending on season
- Compost bin: quick weekly turning or adding of materials
- Beehive: inspections every 1–2 weeks during active months
Breaking tasks into daily, weekly, and seasonal categories helps prevent surprises and allows you to match commitments with your schedule.
Dealing with Failure and Learning
Not every crop or project succeeds the first time. Plants may fail due to poor soil or pests. A hive might not survive the winter. Even experienced homesteaders face losses. What matters is treating each setback as information, not discouragement.
Ways to learn from failure:
- Keep notes on planting dates, yields, and problems
- Adjust soil, watering, or plant varieties based on results
- Connect with local groups for shared experience and advice
Every failure builds knowledge that makes the next attempt more successful. Over time, patterns become clear, and your homestead grows stronger because of the lessons learned.
Know Your Local Rules: HOA and Local Regulations

Turning a backyard into a small farm is exciting, but local rules can stop you in your tracks if you skip this step. Across Canada and the U.S., regulations for chickens, bees, and new structures change from city to city and sometimes even from one neighborhood to the next.
Checking HOA Policies
An HOA can be stricter than city bylaws. Some allow gardens but ban hens. Others require written approval before you put in a coop or even a large raised bed. The safest path is to:
- Read through your HOA’s handbook or website.
- Contact the board or property manager directly if anything is unclear.
Obtaining Permits for Structures or Animals
Municipal governments also set their own rules:
- Chickens: Many cities in both Canada and the U.S. require a permit. This usually comes with limits on the number of hens, no roosters, and specific coop standards. Some places, like Vancouver or Kingston, Ontario, have annual registration requirements.
- Coops: A permit may be needed if the coop exceeds a certain size, or if it’s close to property lines.
- Bees: Provinces, states, and cities often require hive registration. Ontario, for example, enforces this through its Bees Act, while many U.S. cities now allow urban hives under setback rules.
Key point: rules differ widely. Even within the same province or state, one town may welcome backyard hens, while the next bans them entirely.
| Activity | Common Permit/Approval Requirement |
| Chickens (urban/suburban) | Often needs local permit, annual fee, and inspection |
| Chicken coop construction | Setback or design standards, neighbor notifications |
| Backyard hens (Canada) | Mostly limited to hens only, no hens sold, license required |
| Beekeeping (Canada/US) | Hive registration or provincial/state law may apply |
Tips for Sustainable Suburban Homesteading
A productive backyard homestead can be built without wasting resources. Simple systems make it easier to recycle nutrients, save water, and cut costs.
Starting a Compost Bin or Worm Farm
Composting at home turns food scraps and yard waste into nutrient-rich soil. Even a small bin behind the house can handle vegetable peels, coffee grounds, and leaves. Worm farms (vermicomposting) are another option—especially useful for apartments or small yards—since they work indoors or in garages with minimal space.
Practical tips:
- Balance “greens” (kitchen scraps) with “browns” (dry leaves, shredded cardboard)
- Keep the pile moist but not soggy
- Turn it every week or two for faster breakdown
Rainwater Harvesting and Water-Saving Tips
Collecting rainwater reduces strain on city water and helps gardens survive dry spells. Simple barrel systems can be hooked up to downspouts, while drip irrigation makes the most of what you collect.
Water-wise practices:
- Install rain barrels at gutter outlets
- Use soaker hoses or drip irrigation to reduce evaporation
- Mulch garden beds to hold moisture
- Water in the morning or evening to limit loss to heat
Upcycling and DIY Homestead Projects
Many homestead tools and structures can be built with salvaged or second-hand materials. Old pallets become compost bins, while food-grade barrels make sturdy planters. Repurposing materials not only saves money but also keeps usable items out of landfills.
Ideas worth trying:
- Build raised beds from reclaimed lumber
- Turn buckets into self-watering containers
- Use scrap wood for tool racks or storage sheds
- Repair and reuse instead of replacing whenever possible
Small-Scale Livestock Options for Suburban Yards
Livestock can be part of a suburban homestead if chosen carefully. The two most common options are chickens and quail. Both fit into small yards, though each has its own strengths and challenges.
Pros and Cons of Raising Quail vs Chickens
Quail:
- Very small—easy to house in hutches or aviaries
- Quiet, making them less likely to disturb neighbors
- Mature quickly and start laying eggs at 6–8 weeks
- Eggs are smaller, requiring several for cooking
Chickens:
- Produce larger, more versatile eggs
- Provide manure for compost and garden use
- Need more space and daily care
- Can be noisy, depending on the breed
For limited space or strict HOA rules, quail often fit better. Chickens, though, deliver more practical returns for families who want steady egg production.
Space Needs and Maintenance Tips
- Quail: Can live comfortably with 1 square foot per bird. Hutches can be stacked or placed in small corners.
- Chickens: Need at least 3–4 square feet per bird indoors and 8–10 square feet per bird outdoors.
- General care: Fresh water daily, secure housing against predators, and regular cleaning to control odor and disease.
Routine matters as much as space. Animals thrive with consistent feeding, cleaning, and protection from heat or cold.
Food Preservation and Making the Most of Your Harvest
A good harvest is only useful if it can be stored. Preservation stretches food through the off-season and helps avoid waste.
Canning, Pickling, and Drying Basics
- Canning: Pressure canning works for low-acid foods (vegetables, meats, soups), while water-bath canning is safe for high-acid items (jams, tomatoes, pickles).
- Pickling: Uses vinegar or brine to preserve cucumbers, beans, carrots, and more. Quick refrigerator pickles are simple, while shelf-stable pickles require proper canning.
- Drying: Dehydrators or low-temperature ovens work well for fruits, herbs, and jerky. Drying reduces bulk and keeps flavors concentrated.
Fermentation, Freezing, and Long-Term Storage
- Fermentation: Sauerkraut, kimchi, kombucha, and yogurt add probiotics and preserve produce naturally. Salt and time do most of the work.
- Freezing: Best for berries, greens, soups, and meats. Blanching vegetables before freezing preserves texture and nutrients.
- Long-term storage: Root cellars, cool basements, or even insulated garages can store hardy crops like potatoes, squash, and onions for months.
How to Grow Over Time: Scaling Your Suburban Homestead
Homesteads evolve step by step. Starting small is wise, but long-term success comes from steady expansion.
Adding New Elements Each Season
Instead of adding everything at once, layer projects year by year:
- Year 1: Begin with a garden and compost system
- Year 2: Add small livestock, such as quail or a few hens
- Year 4: Plant fruit trees or install rainwater harvesting
- Year 6: Experiment with beekeeping, larger preservation efforts, or expanding garden space
This gradual build avoids burnout and allows time to adapt. Each season brings new lessons, and the homestead becomes stronger without feeling overwhelming.
This content is generated by AI, reviewed by our editorial team, and features products that have been thoroughly evaluated and chosen.